Task Submission Using the CLI
Transformer Lab provides a CLI called lab for managing tasks and jobs from the terminal.
This guide covers:
- Listing tasks for an experiment.
- Creating a new task from a local directory with
task.yaml. - (Optionally) creating a task directly from a Git repository.
Prerequisites
Before using the CLI:
- The
labCLI is installed and on yourPATH. - You can authenticate with your Transformer Lab instance (for example, using
lab login). - You have a current experiment configured (or know how to set one).
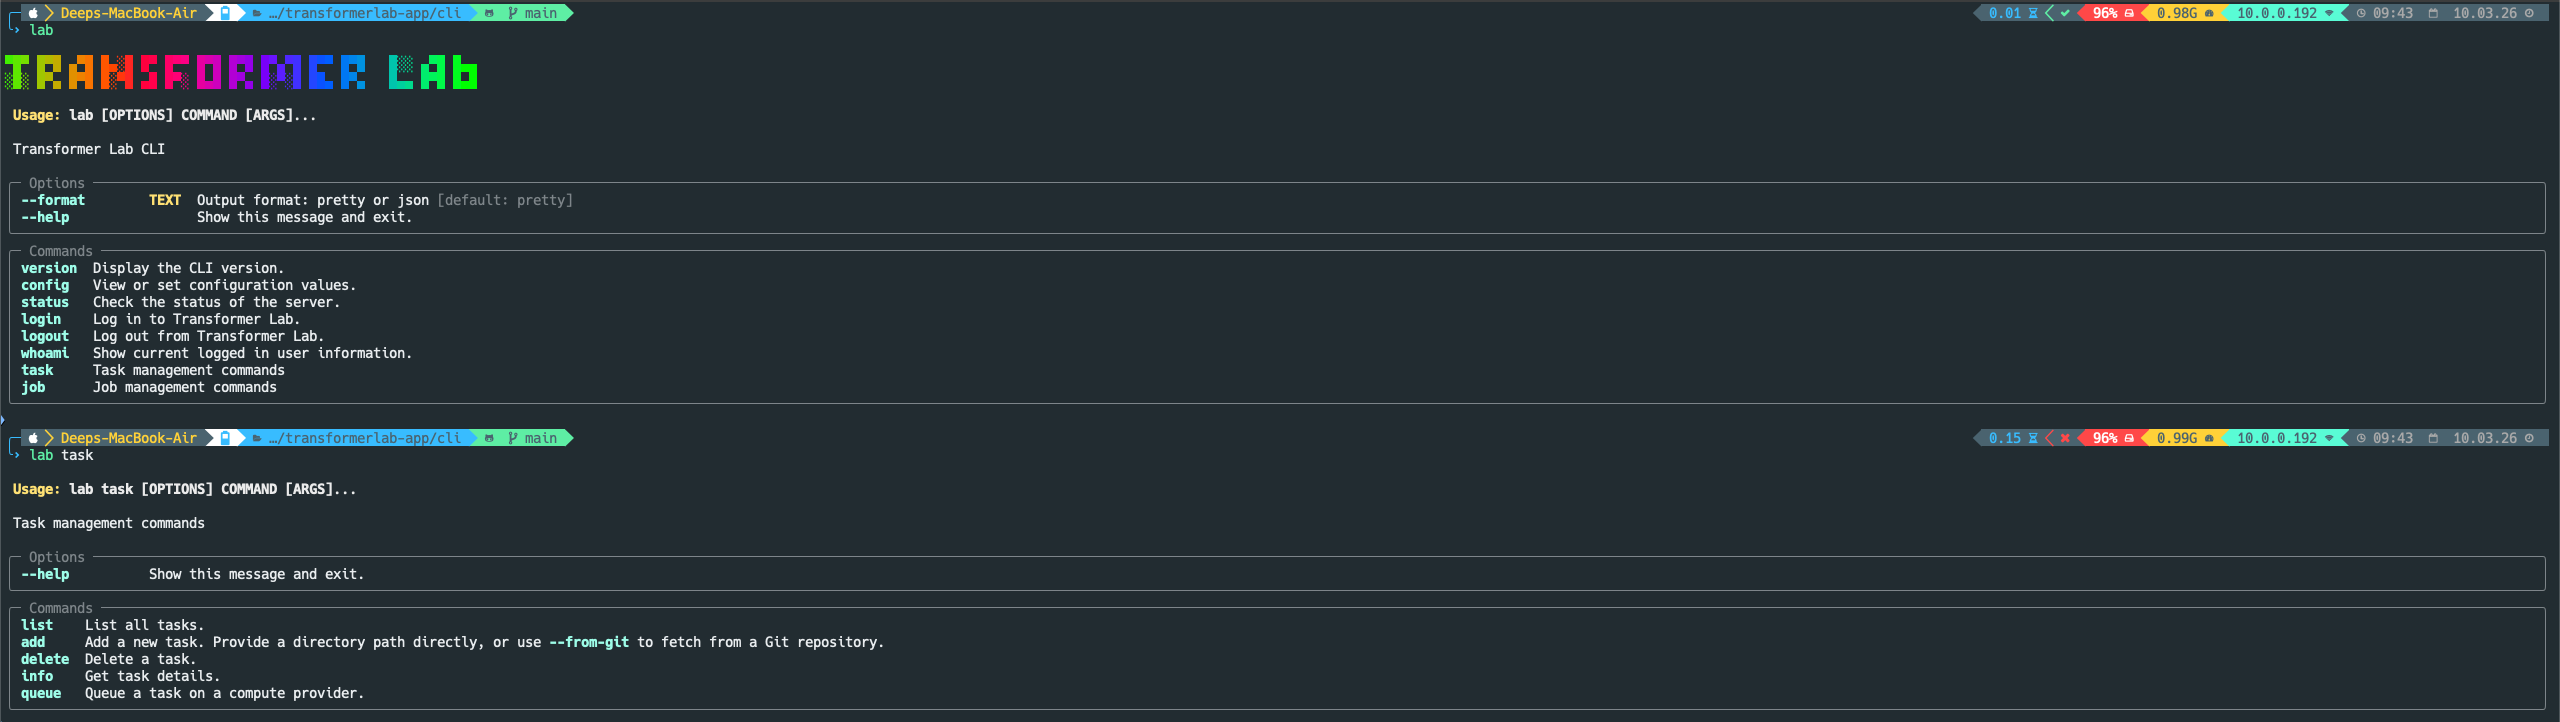
To verify:
lab --help
lab version
If these commands work, you’re ready to proceed.
1. Set your current experiment
Most CLI commands operate on a “current experiment” value stored in the CLI config.
To set it:
lab config set current_experiment my-experiment-name
To confirm:
lab config
If no experiment is set, some commands (like lab task list) will warn you and ask you to configure it first.
2. List existing tasks
To see tasks associated with your current experiment:
lab task list
You should see a table of tasks including:
idnametype- creation and update timestamps
This is a good way to confirm that your CLI is correctly talking to the Transformer Lab API.
3. Create a task from a local directory
The recommended way to define a task for the CLI is to create a directory containing a task.yaml file and any associated code or configuration.
3.1. Prepare task.yaml
In a local directory (for example, my-task/), create a file called task.yaml with at least the required fields:
name: my-first-cli-task
type: REMOTE
# ...additional configuration fields as needed...
The exact schema for
task.yamldepends on your version of Transformer Lab and the kind of task you are creating. Use existing tasks or templates as references when possible.
3.2. Add the task with lab task add
From the directory above my-task/, run:
lab task add my-task
The CLI will:
- Validate that
my-task/exists. - Confirm that
task.yamlis present and readable. - Show you a preview of the configuration.
- Upload the directory contents to the server and register a new task attached to your current experiment.
On success, you should see a message similar to:
Task created with ID:
<task-id>
You can then run lab task list again to see it in the table.
4. Create a task from a Git repository
Instead of a local directory, you can create a task directly from a Git repository.
Use:
lab task add --from-git https://github.com/your-org/your-task-repo.git
The CLI will:
- Ask the API to create a task from the specified Git URL.
- Register it under your current experiment.
This is handy for sharing reusable tasks across teams or maintaining them in a separate repo.
5. Queue a task on a compute provider
Defining a task only registers it with your experiment. To actually run it on a compute provider from the CLI, use:
lab task queue <task-id>
In interactive mode (default), the CLI will:
- Fetch the task definition and available compute providers.
- Prompt you to pick a provider.
- If the task has
parametersdefined (the same ones used by the GUI), prompt you for values, showing defaults from the schema. - Build a launch payload and call the provider API to create a job.
For non-interactive usage with defaults:
lab task queue <task-id> --no-interactive
In this mode the CLI:
- Chooses the provider stored on the task (falling back to the first available provider if needed).
- Uses parameter defaults from the task’s
parametersblock without prompting.
You can then use lab job list, lab job info, and other job commands, or the GUI, to monitor the resulting jobs.
6. Inspecting and managing tasks
Once a task exists:
-
Get task info
lab task info <task-id> -
Delete a task
lab task delete <task-id>
Tasks defined via the CLI can be launched and monitored from the GUI as well. For more on running tasks visually, see this link.